· 12 min read
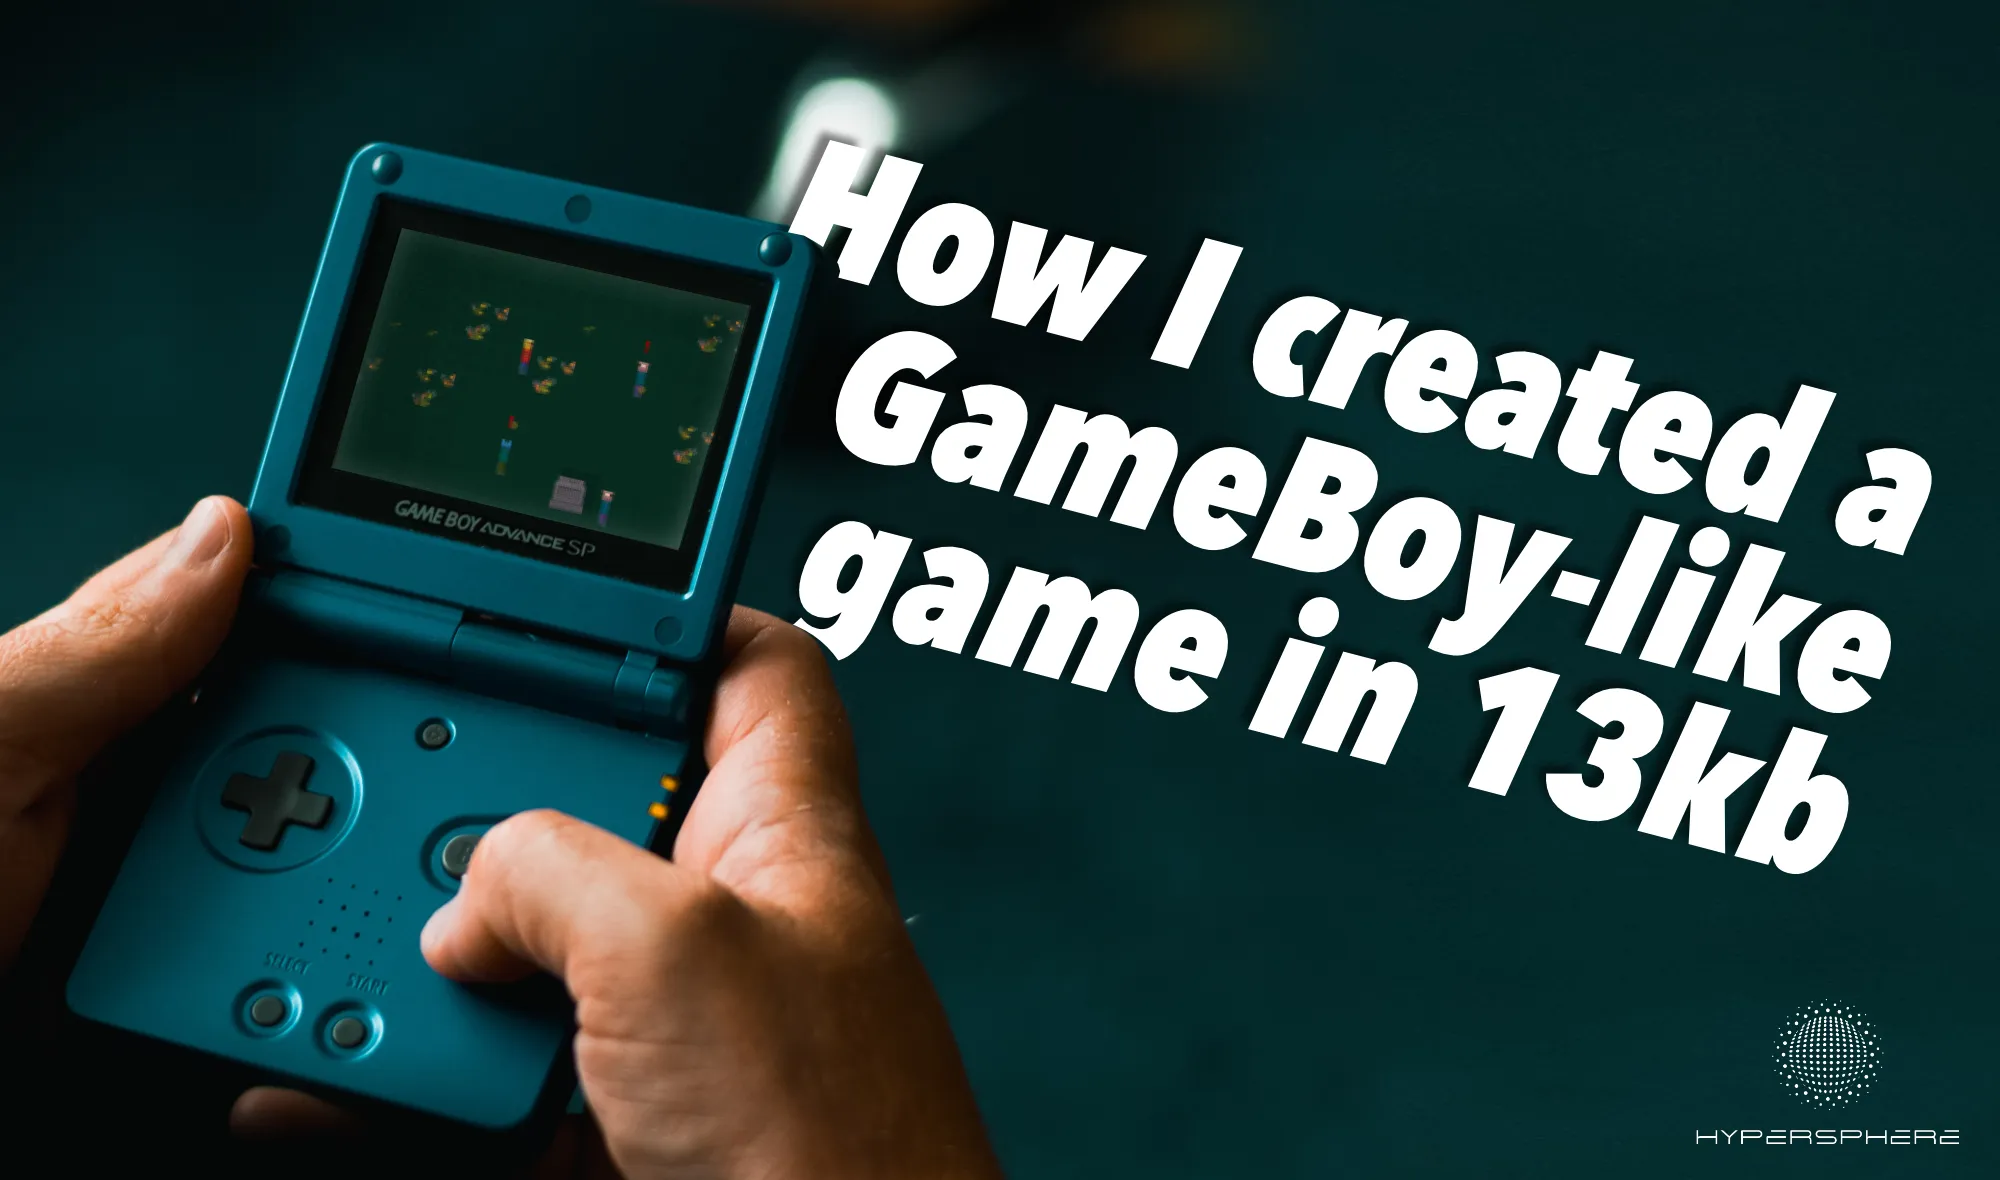
How I created a GameBoy-like game in 13kb
History of Gravepassing — my entry for js13kgames 2022.
This year I decided to participate in the js13kgames game jam. It’s a yearly, month-long competition to create a game in JavaScript from scratch that will fit 13kb (zipped). It does not sound like plenty of space, but with enough creativity, a lot can be achieved. Just look at those amazing examples from the past years:
- Underrun (winner in 2018)
- Ninja vs Evil-corp (winner in 2020)
- Beat Rocks (2nd place in 2021)
Even though my game did not rank high this year, I still want to share some discoveries I’ve made along my journey.
For this year’s entry, I decided to create a game that evokes the retro era of handheld games, with its unique square form factor, low resolution, and top-down graphics. For the gameplay, I’ve wanted it to be a fast-paced action-RPG style, with easy but addictive gameplay that encourages you to continue playing. The music choice was obvious — sound effects must feel like taken directly from the arcades.
If you want to play the game, you can do it on the Gravepassing JS13KGames entry page. The full code is available on GitHub.
In this article I would like to describe my journey and the different components and challenges I faced along the way:
- Inspirations
- Drawing graphics using emojis
- Dithering effect
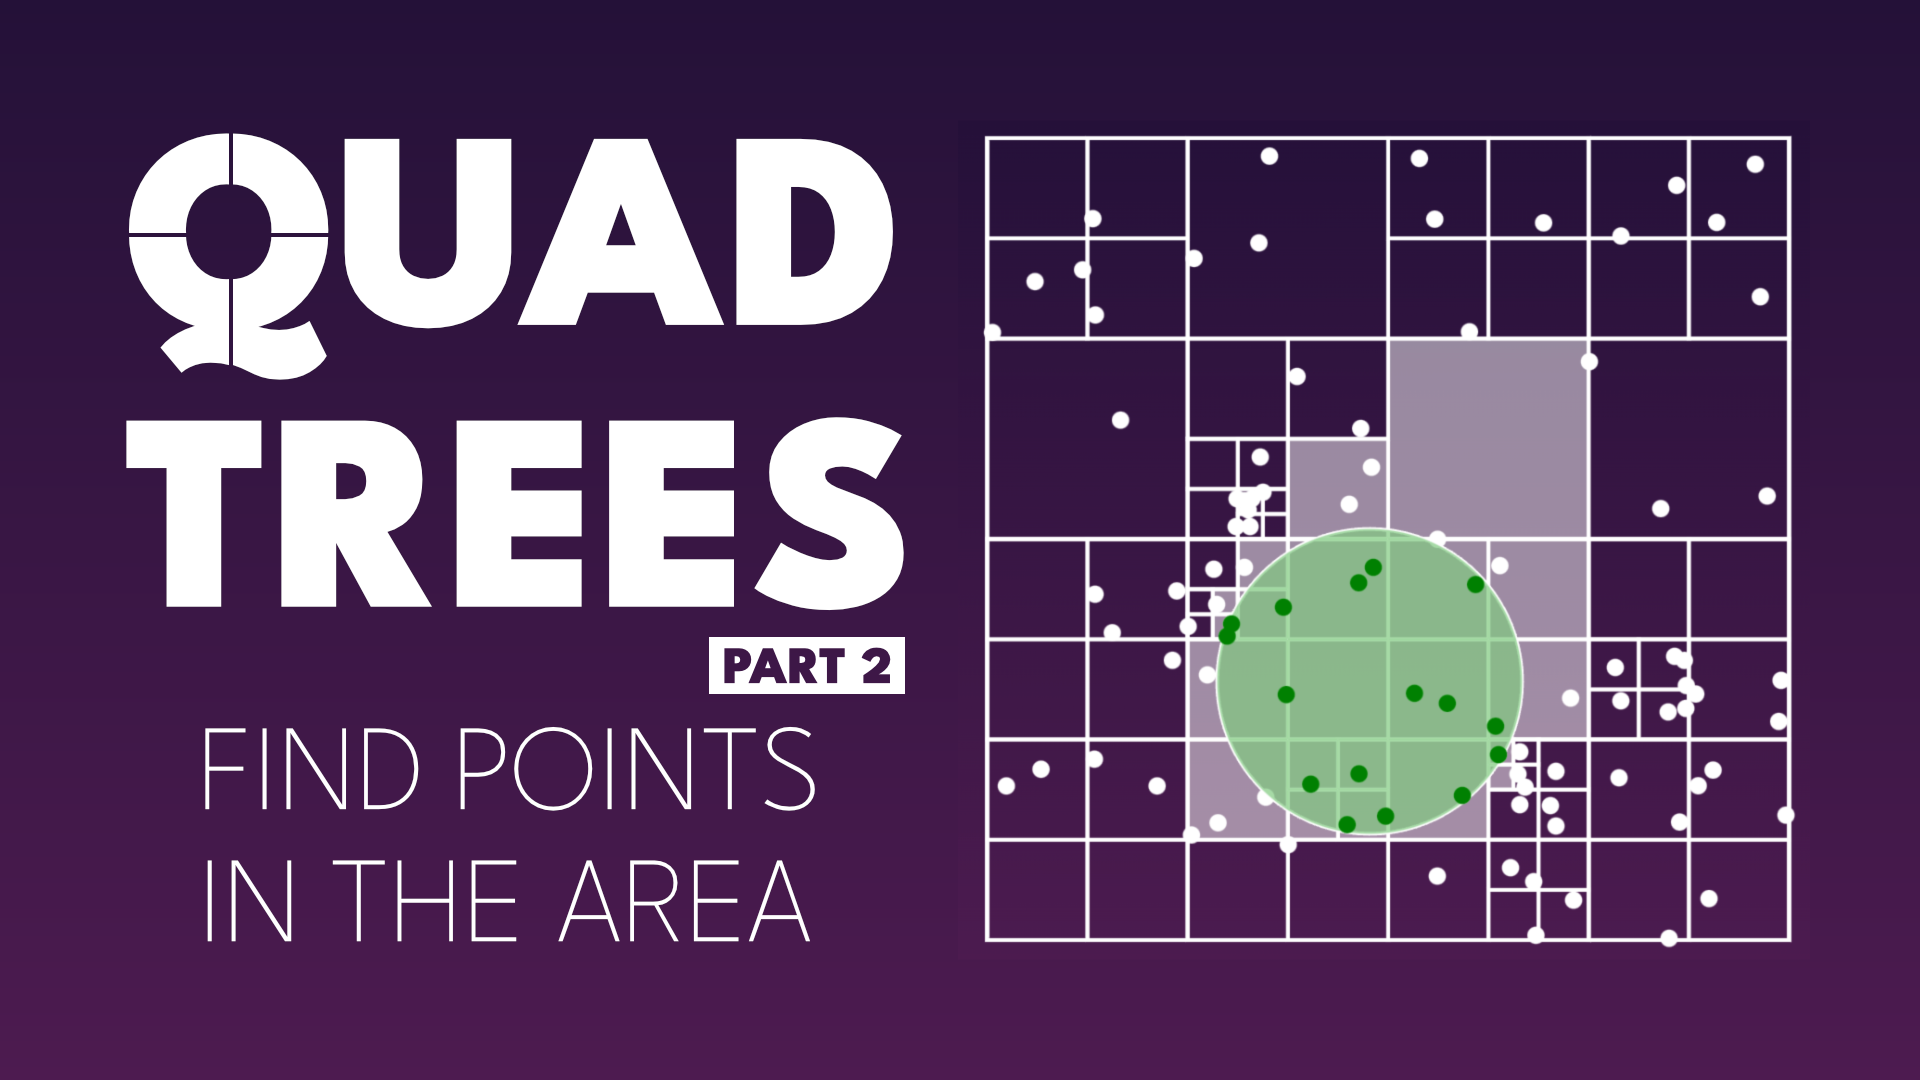
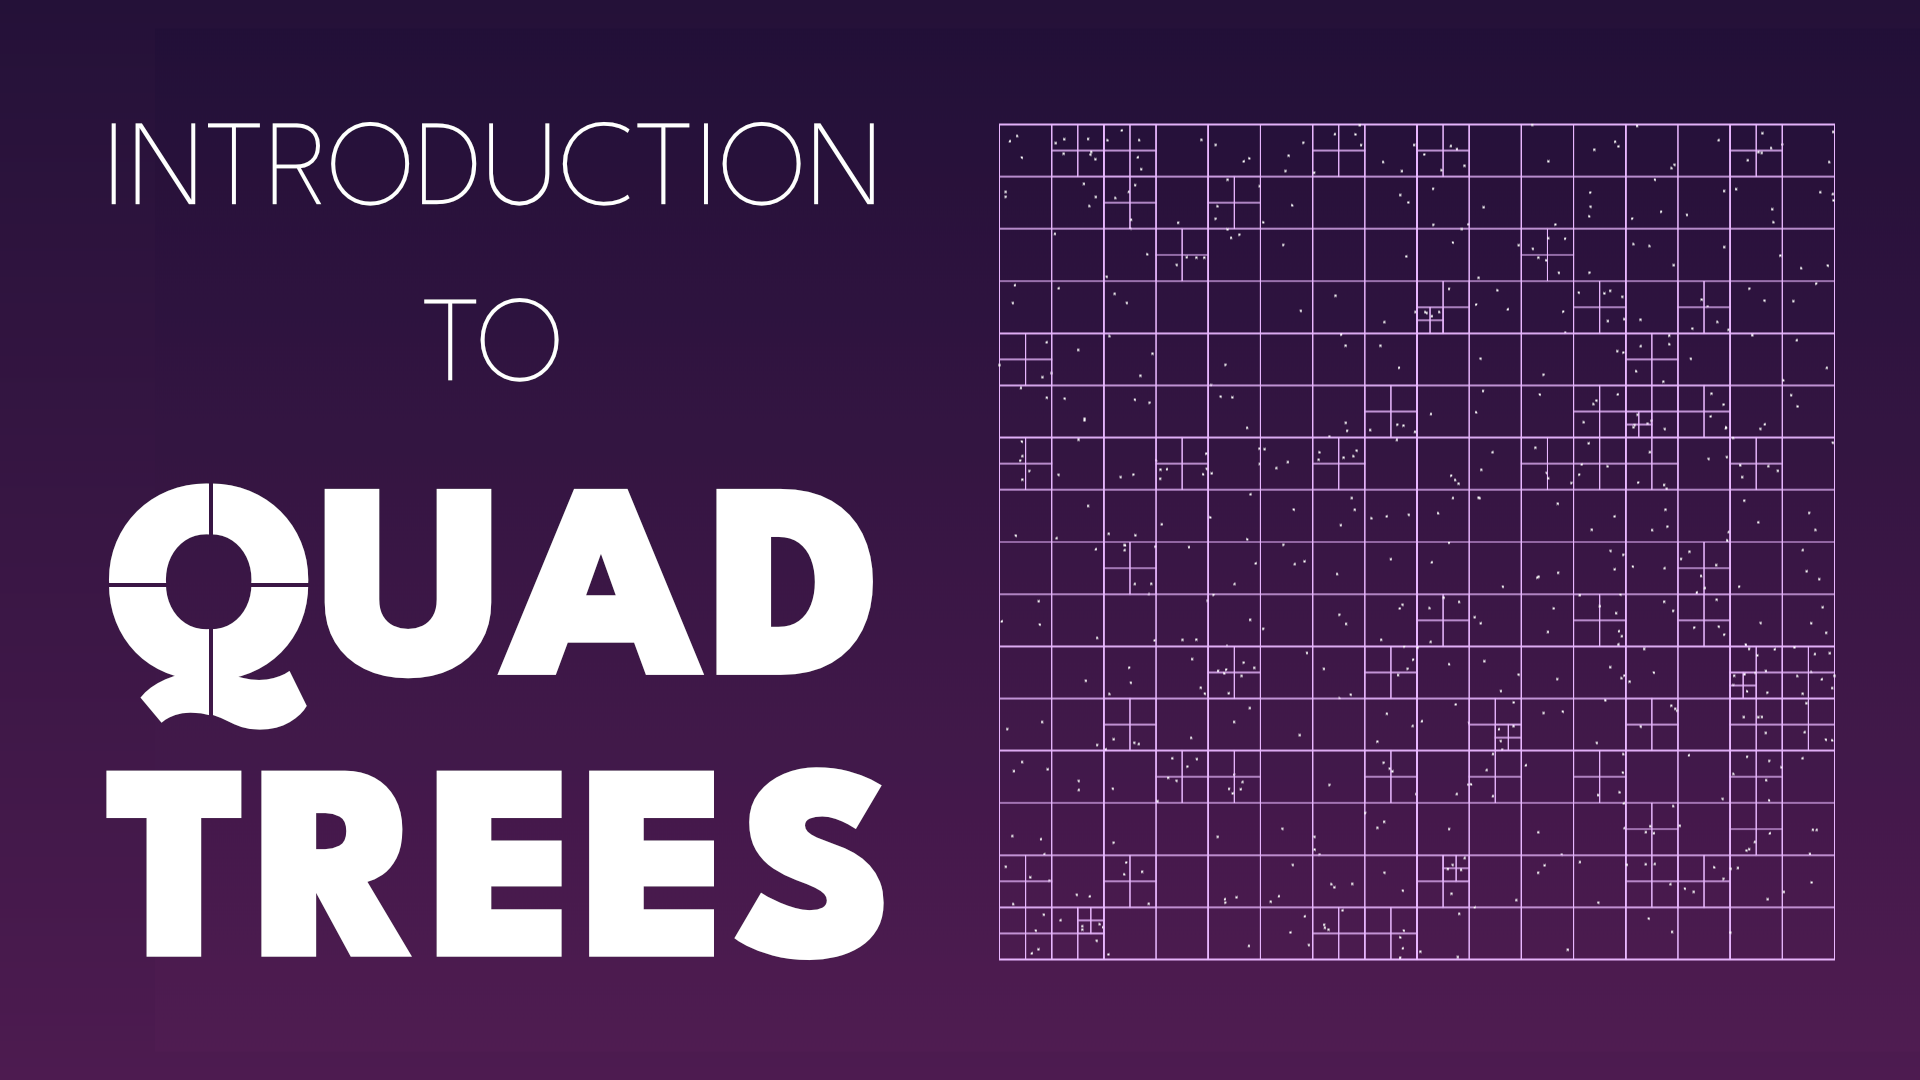
- Object storage using Quad Tree
- Music
- Compression
Inspirations and graphics
The choice for the graphics was a mix of the 1990s style handheld and home consoles like GameBoy Color and NES games. It wasn’t meant to mimic any specific game or style, but rather to be reminiscent of the era.

I decided to go with 16x16px tiles making up one game unit. Each time on the screen you can see a 10x10 grid which results in a resolution of 160x160px (integer upscaled to look good on modern displays). This results in a more-or-less GameBoy feel, although the original hardware used 8x8px tiles instead and 160×144px resolution in total.
As for the graphics, due to the size limitation, I restrained from adding any sprite maps. Instead, I use downscaled emojis to combine the sprites.
![]()
The image above shows how the player model was built. It uses 4 emojis. Unsurprisingly I used a head emoji for a head with glasses on top, and trousers for a bottom part of a sprite. The torso part is a Red Envelope though, a popular monetary gift in Southeast Asia. Drawn in this resolution it loses all the details and the elongated shape of it is perfect to simulate the body.
Emojis are not unified across the operating systems, which leads to the interesting effect of game rendering completely different on each OS. You can see the differences in the image below:

Moreover, not all the systems support the same version of Unicode, making some of the newer emojis not compatible with older systems. In the screenshot above you can see that the tombstone emoji (🪦) was replaced with a coffin (⚰️) on Windows and Ubuntu — tombstone was introduced in Unicode 13.0. To achieve it I have created a small script rendering each emoji and checking if it was rendered properly. If not, it’s replaced with its equivalent specified in the handwritten configuration. Because emojis on different systems might have different sizes, some fine-tuning was required too.
interface OptionalEmojiSet {
    // EMOJI
    e?: string;
    // POS
    pos?: [number, number];
    // SIZE
    size?: number;
}

export const alt: Record<string, OptionalEmojiSet> = {
    "🪦": { e: "⚰️", pos: [0, 4], size: .9},
    "⛓": { e: "👖" },
    "🪨": { e: "💀" },
    "🪵": { e: "🌳" },
    "🦴": { e: "💀" }
}


export const win: Record<string, OptionalEmojiSet> = {
    "🔥": { pos: [1, -1], size: 1 },
    "💣": { pos: [-1, -2]},
    "👱": { pos: [-1, 0]},
    "🕶": { size: 1.5, pos: [-1, -1]},
    "⬛️": { pos: [-1, 0]},
    "👖": { pos: [-0.5, 0]},
    "🐷": { pos: [-1, 0]},
    "🦋": { pos: [-1, 0]},
    "🐮": { pos: [-1, 0]},
    "👔": { pos: [-1, 0]},
    "👩": { pos: [-1, 0]},
    "🤖": { pos: [-1, 0]},
    "👚": { pos: [-1, 0]},
    "🐵": { pos: [-1, 0]},
    "☢️":  { pos: [5, 0]},
    "👹": { pos: [-2, 1]}
}

export const tux: Record<string, OptionalEmojiSet> = {
    "🧧": { e: "👔" }
}
To check when each of the emojis was introduced, the following table was a really handy resource.
Game Screen Structure
The screen displays 10x10 grid of 16px x 16px tiles making total of 160x160px resolution. Obviously, displaying it directly in such resolution would result in a tiny square on our modern 4k screens — that’s why the image is integer upscaled to the maximum value possible.

To downscale emojis, I used a separate, tiny canvas that kept individual spites rendered in its original 16x16px. Then I can use those sprites to render them to the big destination canvas whenever needed. This allowed me to generate temporary sprite sheets to check if the tiles were properly generated.
By default, canvas uses image smoothing meaning that when the sprite gets upscaled, it will be smoothened using antialiasing. To avoid that, we need to turn it off.
context.imageSmoothingEnabled = false;Canvas Optimisation
One of the weird optimization techniques I came across was generating a bitmap from the canvas without saving it. I suspect this marks that portion of the canvas as not changed for future uses and can optimize rendering, but I could not find any definite answer what’s the exact mechanism that’s causing it. If you know the answer, please share it in the comments!
createImageBitmap(ctx.getImageData(0, 0, ctx.canvas.width, ctx.canvas.height)) // This makes consecutive rendering fasterQuadTree
During the game lifecycle, a lot of game objects appear and disappear from the screen. The majority of the game logic revolves around finding which objects are close to each other and detecting collisions or proximity of them — every interaction like movement, detecting collisions, enemies following the player, etc; includes logic for finding objects within some distance. The most naive solution for this problem would be to check all objects stored in the memory. Unfortunately, this requires a lot of comparisons. If we would like to perform this action for each of the elements, this would result in having to do O(n²) comparisons every frame.
With QuadTree, we can do a precomputation to optimize this process. The tree stores our elements in its nodes until the node reaches its capacity. In this scenario, it divides the space into four subspaces (thus the quad in the name). Then, each time we want to find all elements within the given area, we can easily discard objects outside the boundary. The whole process is recursive, so you end up with a structure that is really fast to find elements in.

The recursive implementation itself is not too long and can easily fit within 100 lines.
import { GameObject } from "../modules/GameObjects/GameObject";
import { Rectangle } from "../modules/Primitives";

export class QuadTree {
    objects: Set<GameObject> = new Set();
    subtrees: QuadTree[] = [];
    constructor(private _boundary: Rectangle, private limit: number = 10) {
    }

    get boundary() {
        return this._boundary;
    }

    get subTrees() {
        return this.subtrees;
    }

    private subdivide() {
        const p1 = this.boundary.p1;
        const mid = this.boundary.center;
        const w = this.boundary.width;
        const h = this.boundary.height;
        this.subtrees = [
            new QuadTree(new Rectangle(p1, mid), this.limit),
            new QuadTree(new Rectangle(p1.add(w/2, 0), mid.add(w/2, 0)), this.limit),
            new QuadTree(new Rectangle(p1.add(0, h/2), mid.add(0, h/2)), this.limit),
            new QuadTree(new Rectangle(p1.add(w/2, h/2), mid.add(w/2, h/2)), this.limit),
        ];

        // we need to add all exisitng points now
        this.objects.forEach(o => {
            this.subtrees.forEach(t =>
                t.add(o)
            )
        })
    }

    add(obj: GameObject) {
        if (!this.boundary.isIntersectingRectangle(obj.getBoundingBox())) {
            return;
        }

        if (this.objects.size + 1 < this.limit || this.boundary.width < 10 || this.boundary.height < 10) {
            this.objects.add(obj);
        } else {
            if (!this.subtrees.length) {
                this.subdivide();
            }
            this.subtrees.forEach(t => {
               t.add(obj);
            });
        }
    }

    getInArea(boundary: Rectangle): Set<GameObject> {
        if (!this.boundary.isIntersectingRectangle(boundary)) {
            return new Set();
        }
        if (this.subtrees.length) {
            const s = new Set<GameObject>();
            for (const tree of this.subTrees) {
                tree.getInArea(boundary).forEach(obj => s.add(obj));
            }
            return s;
        }
        const points = new Set<GameObject>();
        this.objects.forEach(obj => {
            if (boundary.isIntersectingRectangle(obj.getBoundingBox())) {
                points.add(obj);
            }
        });
        return points;
    }
}
Dithering Effect

To achieve retro aesthetics instead of varying the opacity of shadows, I resorted to dithering.
The dithering effect is a technique of mimicking a richer color palette by alternating colors from the smaller set. In the picture above each of the patterns seems to be increasing in brightness even though all of them use just 2 base colors — black and purple.
The effect was commonly used in old consoles and early computer games and applications where the palette was limited. This made developers think outside the box and use techniques like dithering to fake our eyes into thinking there are more colors than actually were displayed on the screen. And maybe most notably GameBoy Camera used ordered dither to display any image captured with it.
I plan to write a separate article about the effect and some use cases but before that, you can check the code for the effect in the following CodePen:
See the Pen Dither by hypersphere (@hypersphere) on CodePen.
Post Processing
Post-processing was an important step in making my game look more realistically retro. The old CRT created very unique artifacts when displaying color images due to the architecture of the display.

In my attempt to emulate old retro style I overlayed a variation of Bayers Filter with a slight blur on top of every game pixel and blended it using color-burn blend mode. This made the game have its original style. It, unfortunately, made it way darker but with the main theme around death, it seemed appropriate.

Here’s the snippet of the code responsible for the effect:
// drawing on posteffect canvas if it was not done before with slight blur between color "pixels"
if (!this.postCanvas) {
    this.postCanvas = document.createElement('canvas');
    const m = this.game.MULTIPLIER;
    this.postCanvas.width = this.postCanvas.height = m;
    const ctx = this.postCanvas.getContext('2d')!;
    ctx.filter = 'blur(1px)';
    ctx.fillStyle = "red";
    ctx.fillRect(m/2, 0,  m / 2, m/2);
    ctx.fillStyle = "green";
    ctx.fillRect(0, 0, m/2, m);
    ctx.fillStyle = "blue";
    ctx.fillRect(m/2, m/2, m/2, m/2);

    this.pattern = ctx.createPattern(this.postCanvas, "repeat")!;

}


// blending it using color-burn
this.ctx.globalAlpha = 0.6;
this.ctx.globalCompositeOperation = "color-burn";
this.ctx.fillStyle = this.pattern;
this.ctx.fillRect(0, 0, this.width, this.height);

// reverting original blend mode.
this.ctx.globalCompositeOperation = "source-over";
this.ctx.globalAlpha = 1;
Audio
To generate music I’ve used WebAudio API which provides node-based architecture you can use to combine oscillators, filters, effects, and other audio nodes together.

I have implemented a simple audio tracker that reads predefined music scores and schedules audio. The track can be defined as a string of MIDI notes, encoded as UTF-8 characters:

A song consists of multiple tracks. They share the same BPM but can have different time divisions defined making it quite easy to iterate on music ideas.
If you want to learn more about how to use Web Audio, I highly recommend my article about the subject:
Playing with MIDI in JavaScript
and if you want to learn more about MIDI and how to use it in your browser, I recommend the introductory article to my MIDI library written in TypeScript:
Introducing MIDIVal: the easiest way to interact with MIDI in your browser
Optimizing package size
Once the game is done, it’s time for compression. My main goal was not to constrain myself when writing code, to be able to use object-oriented programming with proper class names, and defer the minification to a separate step. Thanks to that majority of the code stayed readable (I only had to manually change a handful of things) and still minifies well.
The limit is exactly 13312b (13 * 1024) and my package without compression was initially around 14500b. That’s 1.5kb of compressed code to shave.
I’ve started by incorporating uglify in the build flow which mostly removed some console.logs and shorten some names. I played a bit with parameters but it didn’t do a great job of replacing the names of my classes and methods. I decided to go with a custom solution.
Codemod for TypeScript
Fortunately, the whole codebase was written in TypeScript. Thanks to that I could easily rename the majority of the class names, properties, and functions using a simple codemod written with the help of ts-morph.
TS-morph is a simple tool helping with navigating the TypeScript AST tree. Instead of having to manually navigate through the nodes, you can easily extract all the symbols from the file and change them in all places automatically.
let name = [65, 65];
let generateNextName = () => {
  if (name[1] === 90) {
    name[0]++;
    name[1] = 65;
  }
  name[1]++;
  return nameString();
}

classes.forEach(i => {
    const name = i.getName();
    const nextName = generateNextName();
    if (name === nextName) {
      return;
    }

    // Rename class
    console.log(name, '->', nextName);
    i.rename(nextName, {
      renameInComments: false,
      renameInStrings: false
    });
});
The code above renames all class names into AA , AB , AC and so on. Because we use typed language, we know where the class is used so all usages are automatically renamed as well. The same was done to class methods and properties. Here’s my full codemod.
Roadroller
To reduce the size even further I used roadroller. It is a tool that flattens JavaScript by using complex compression techniques like bytewise rANS coder, making the source code completely unreadable but very efficient. It shaved a few kb of my code making my bundle fit the limit with no problem.
What do you think of the solutions? What would you add or improve in my entry? Put your thoughts down in the comments!